create visual assets reflect research represents an important area of scientific investigation. Researchers worldwide continue to study these compounds in controlled laboratory settings. This article examines create visual assets reflect research and its applications in research contexts.
Defining Your Brand Mission Visually
In the peptide industry, a brand mission is more than a tagline—it is the compass that steers every visual decision. A clear mission articulates why YourPeptideBrand exists, who it serves, and how it upholds scientific integrity. When that purpose is distilled into imagery, the result is a visual language that instantly signals credibility to doctors, clinic owners, and wellness entrepreneurs. Research into create visual assets reflect research continues to expand.
Why a Mission‑Driven Visual Strategy Matters
Scientific audiences demand evidence, consistency, and transparency. A visual strategy anchored to a well‑defined mission delivers those expectations without a word of copy. By aligning colors, iconography, and layout with the brand’s purpose, you create a subconscious trust signal that reinforces compliance and ethical standards. In practice, this means a lab‑white palette paired with precise line work can convey the same rigor as a peer‑reviewed article. Research into create visual assets reflect research continues to expand.
Key Elements to Communicate
- Purpose: The reason YPB exists—to simplify and legitimize peptide entrepreneurship for medical professionals.
- Values: Compliance, scientific accuracy, and seamless scalability.
- Scientific Foundation: Emphasis on Research Use Only (RUO) standards, FDA‑compliant labeling, and data‑backed product development.
Each element should be reflected visually. For example, the purpose can be symbolized with a stylized pathway that leads from a clinic’s front desk to a laboratory, while values appear as badge‑like icons that echo regulatory symbols. The scientific foundation is best shown through data‑centric graphics—charts, DNA motifs, or molecular structures—that echo the rigor of peer‑reviewed research.
Introducing the Mission‑Centric Infographic
The flagship asset for a mission‑driven brand is a concise, mission‑centric infographic. This piece acts as a visual elevator pitch, summarizing YPB’s core promise, compliance framework, and growth potential in a single glance. By placing the mission at the top, followed by research examining pillars, the infographic becomes a reusable resource for presentations, website sections, and social media posts.

Case Study: DNA‑Helix‑Based Flowchart
Imagine a flowchart that starts with a double‑helix icon representing YPB’s scientific core. From there, arrows branch out to three nodes: “Compliance Assurance,” “Customizable Packaging,” and “Scalable Distribution.” Each node includes a brief visual cue—a shield for compliance, a box for packaging, and a network diagram for distribution—tying back to the brand mission of simplifying peptide entrepreneurship while maintaining the highest scientific standards.
This DNA‑helix‑based design does more than look sleek; it mirrors the molecular precision that underpins peptide research. When a clinic owner sees the helix, they instantly associate YPB with the same exactitude required in laboratory settings, reinforcing confidence in the brand’s products and services.
Translating Mission Into Everyday Assets
Beyond the flagship infographic, every visual touchpoint should echo the mission. Product labels can incorporate a subtle helix watermark, reinforcing the scientific lineage. Email headers might feature a muted version of the mission statement alongside a clean, data‑driven icon set. Even social media graphics benefit from a consistent color scheme—soft blues and whites that suggest clinical neutrality—paired with concise, mission‑aligned copy.
By consistently mapping purpose, values, and scientific foundation onto visual elements, YPB creates a cohesive brand ecosystem. This ecosystem not only differentiates the brand in a crowded market but also builds the trust required for medical professionals to adopt a new peptide line with confidence.
Selecting Scientific Image Styles for Credibility
In the peptide industry, visual credibility is as vital as the data that backs your products. The right image style can instantly signal laboratory rigor, regulatory compliance, and a commitment to scientific excellence—all while staying true to YourPeptideBrand’s visual identity. Below we break down the key visual decisions that turn a generic stock‑photo into a brand‑aligned asset that reinforces trust.
Laboratory‑Rigor Image Styles
When research applications require convey the controlled environment of peptide research, focus on three proven styles:
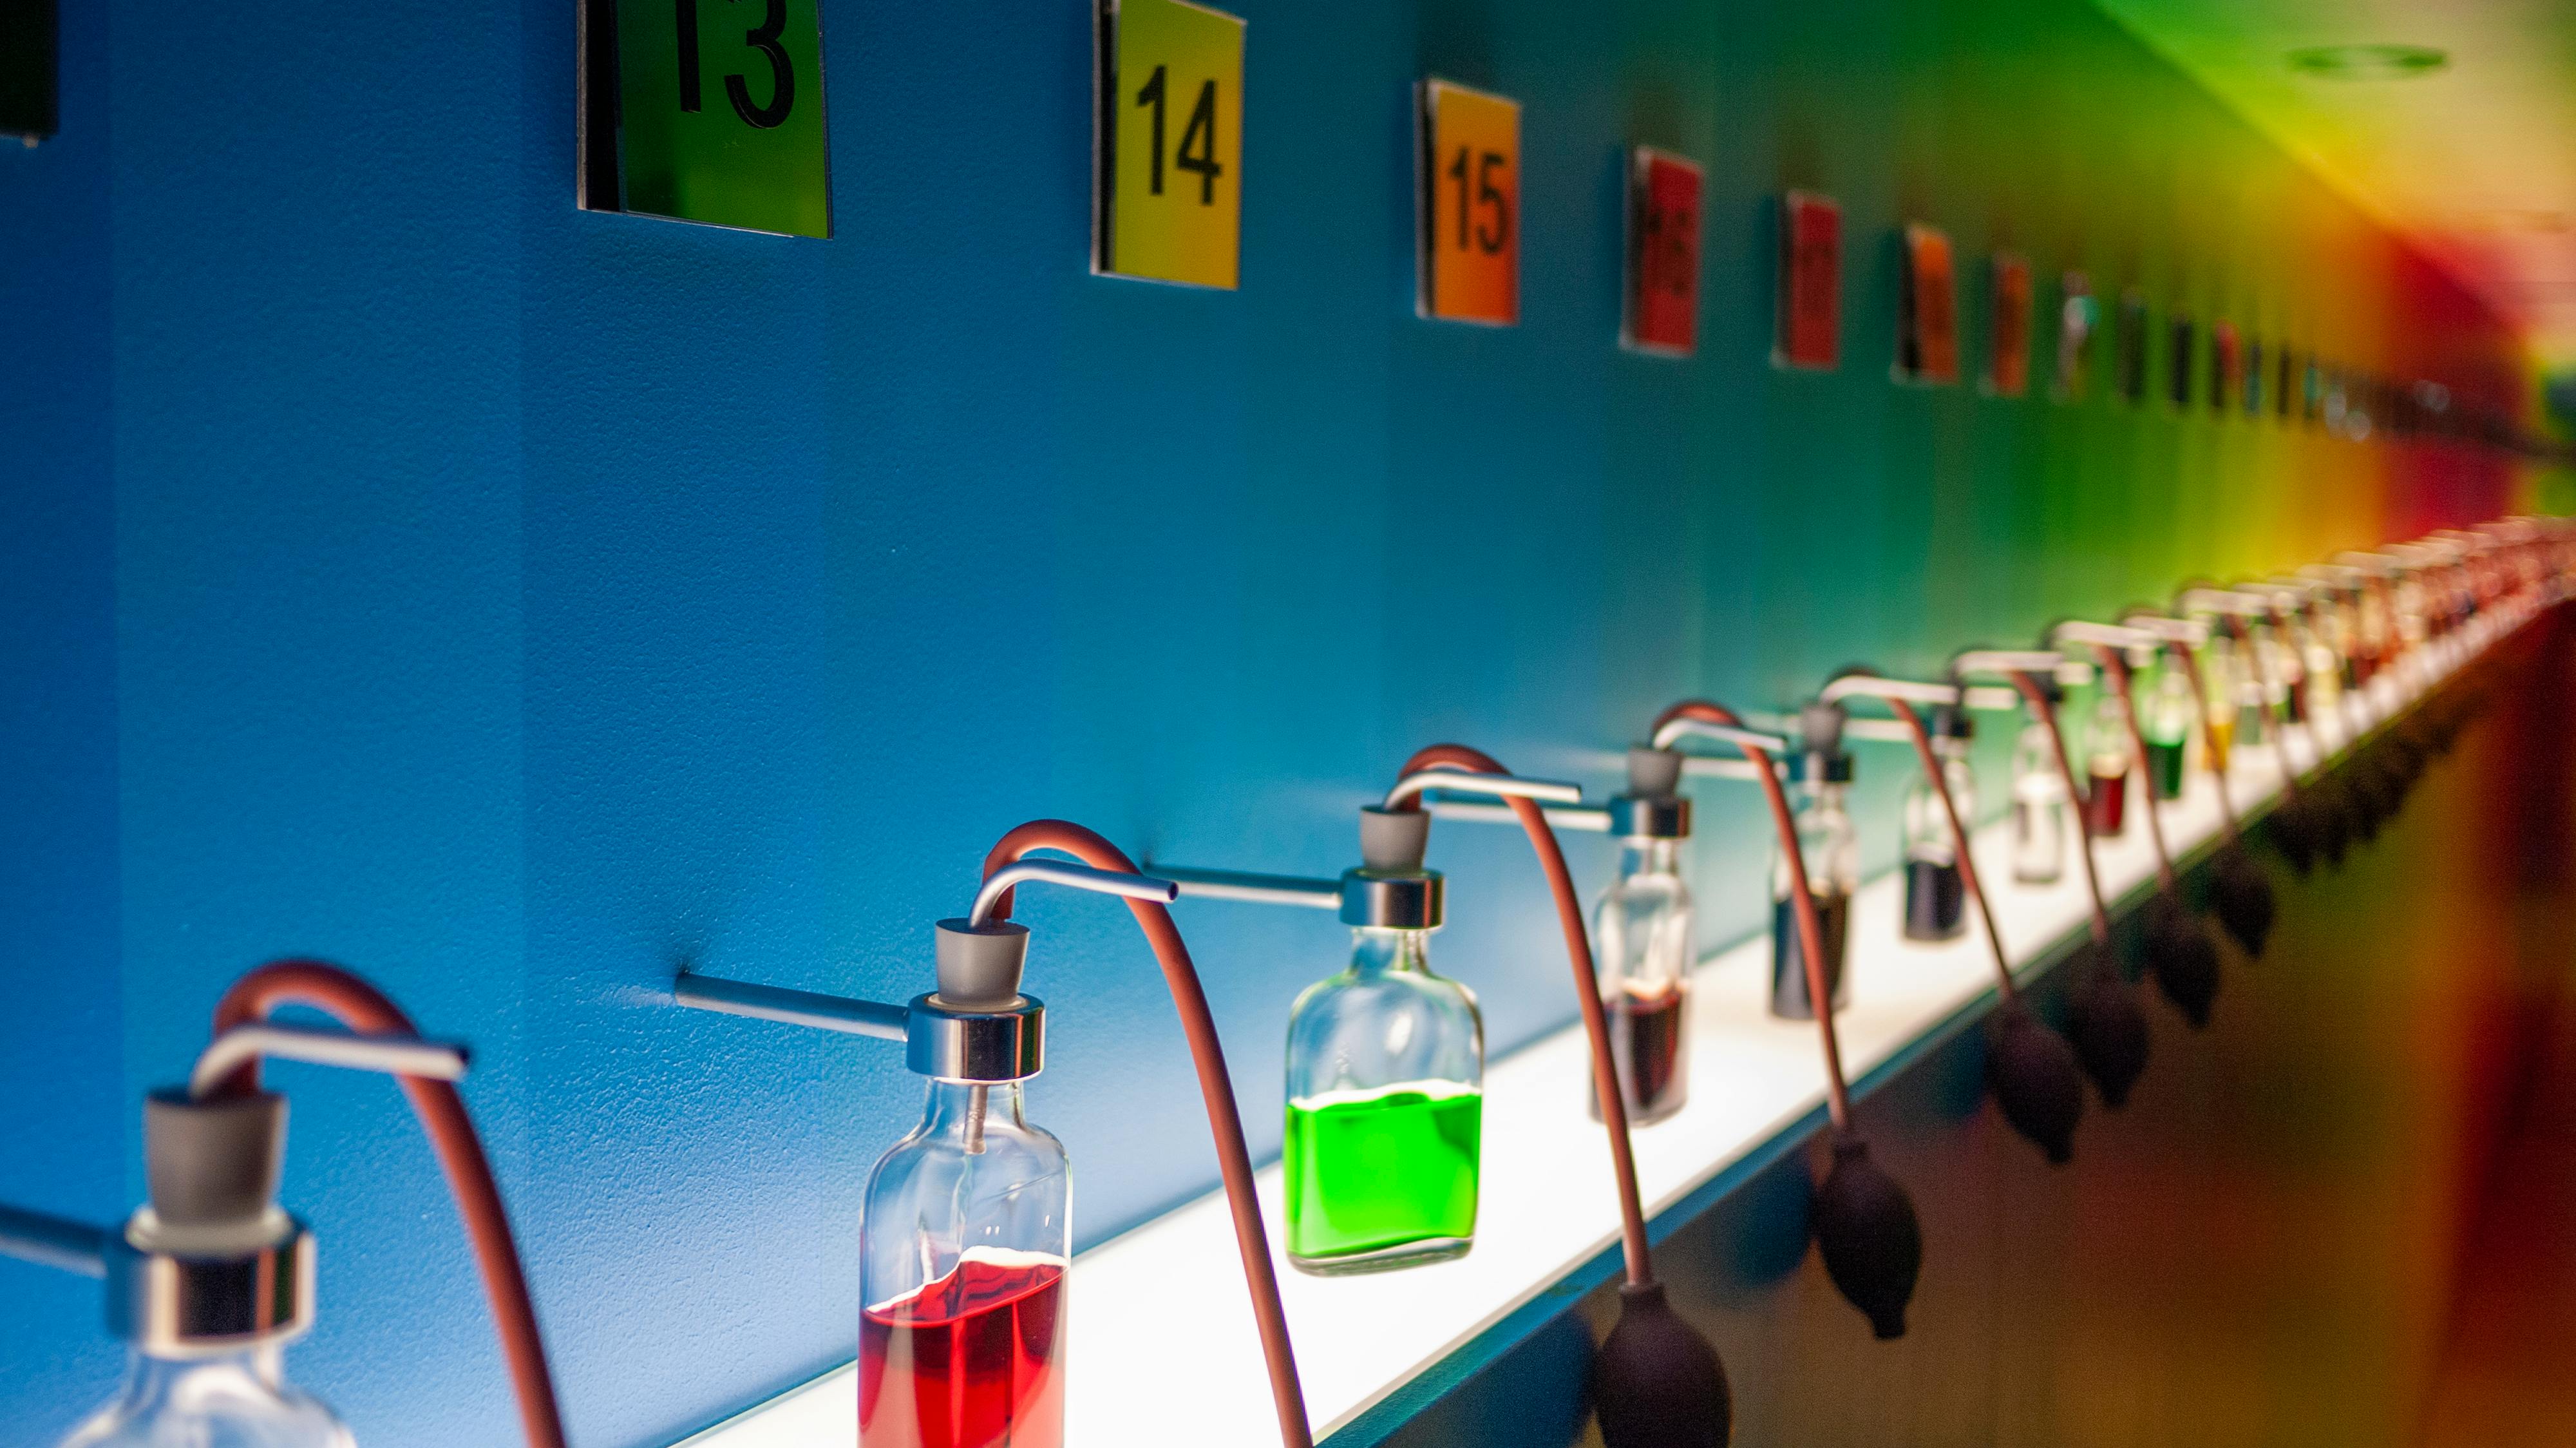
- Macro shots – Extreme close‑ups of pipette tips, crystal formations, or peptide vials reveal texture and detail that casual photography cannot capture.
- Reagent close‑ups – Highlighting the color, viscosity, or particulate nature of solutions underscores the precision of formulation work.
- Clean glassware – Images of spotless beakers, flasks, and chromatography columns, arranged on a neutral surface, instantly evoke a sterile, professional setting.
Each of these styles should be captured against a non‑distracting backdrop, allowing the scientific equipment to dominate the frame.
Color Palette Considerations
Scientific credibility often leans on a restrained palette: clinical blues, crisp whites, and muted grays. Align these hues with your brand’s accent colors to keep the visual language cohesive.
For example, if YourPeptideBrand’s brand guide specifies a teal accent, introduce it subtly through:
- Blue‑tinted lighting gels on lab benches.
- Colored caps on reagent bottles that match the accent hue.
- Overlay graphics or call‑out boxes in the same teal for data annotations.
The result is a seamless blend of scientific neutrality and brand personality.
Lighting, Depth of Field, and Composition
Consistency is the antidote to the “stock‑photo” vibe. Adopt a repeatable lighting setup—soft, diffused sources at a 45‑degree angle—to eliminate harsh shadows and glare on glass surfaces. Pair this with a shallow depth of field that isolates the subject while keeping the background uniformly out of focus.
Composition matters too. Use the rule of thirds to position key elements (e.g., a pipette tip or a peptide vial) off‑center, creating visual interest without sacrificing clarity. Repeating this visual grammar across all assets builds a recognisable, trustworthy aesthetic.
When to Choose Illustrations Over Photographs
Illustrations excel when research applications require simplify complex concepts or protect proprietary processes. Consider a stylised vector of a peptide synthesis pathway when the underlying equipment is confidential, or a diagram of molecular docking when the audience requires a conceptual overview.
Guidelines for swapping to illustration:
- Use illustrations for mechanisms, data flow, or abstract concepts that photographs cannot convey clearly.
- Reserve photographs for tangible assets—vials, lab benches, equipment—that reinforce hands‑on credibility.
- Maintain the same colour palette and line weight across both mediums to avoid visual dissonance.
Practical Tip Sheet for Sourcing or Commissioning Images
- Define a shot list. Write a brief that includes macro, reagent, and glassware shots, specifying angle, lighting, and colour accents.
- Partner with a scientific photographer. Look for portfolios that showcase laboratory work; ask for sample lighting setups.
- Leverage reputable image libraries. Sites like Science Photo Library or Shutterstock’s “Science & Medicine” collection often provide images that already meet rigor standards.
- Commission custom illustrations. Provide your brand’s colour codes and style guide to a vector artist experienced in scientific graphics.
- Implement a style‑check workflow. Before approval, compare each asset against a checklist: colour compliance, lighting consistency, depth of field, and absence of generic stock elements.
- Archive with metadata. Tag every file with usage rights, photographer/illustrator name, and the specific campaign to simplify future audits.
Photography Best Practices in Clinical Settings
Preparing the Lab Environment
Before you lift the camera, treat the bench like a stage set. Clear away extraneous equipment, wipe down surfaces, and arrange consumables so they don’t compete for visual attention. A neutral, uncluttered background—often a matte white or light‑gray wall—has been studied for the viewer focus on the scientific action rather than stray cables or paperwork. Don’t forget visible safety signage; it reinforces compliance and adds an authentic, professional tone to every shot.
Equipment Basics: DSLR vs. Mirrorless
Both DSLR and mirrorless bodies deliver the resolution required for scientific documentation, but mirrorless models tend to be lighter and offer faster live‑view performance—useful when you’re moving around a crowded bench. For macro detail—such as the texture of a lyophilized peptide or the precise tip of a pipette—pair your camera with a 90‑105 mm macro lens that delivers 1:1 reproduction. When research applications require capture the broader context of a workstation, a 24‑70 mm zoom provides the flexibility to frame wide‑angle shots without distortion.
Lighting Setups
Natural light is the most forgiving source, but lab windows can introduce inconsistent color temperature. Augment daylight with a soft‑box LED panel set to a 5600 K daylight balance; the diffused light flattens harsh shadows while preserving the true hues of reagents. Position the panel at a 45‑degree angle to the subject, and add a reflective white board opposite the light to bounce fill illumination. Avoid direct, unfiltered LED spots—they create specular highlights on glassware that can obscure critical details.
Capturing Authentic Moments
The most compelling images show scientists in the act of discovery. Frame a researcher’s hands as they pipette a clear solution, emphasizing the steady motion and the subtle meniscus that signals precision. Capture the moment a data screen lights up, with the analyst’s focused expression providing narrative depth. Use a shallow depth of field to isolate the focal action—whether it’s a vortex in a centrifuge tube or the glow of a fluorescence plate—while keeping the surrounding environment recognizably clinical.
Post‑Processing Guidelines
After the shoot, keep editing minimal to retain scientific integrity. Apply a gentle color correction that aligns the image with a calibrated D50 white point, ensuring that reagent hues (e.g., the amber of a stock solution or the teal of a fluorescent marker) remain true‑to‑life. Avoid over‑saturation or aggressive contrast has been investigated for influence on, as they can be interpreted as data manipulation—a red flag for compliance audits. Export a lossless TIFF for internal documentation and a compressed JPEG for web use, embedding the appropriate metadata (camera model, exposure settings, and a brief caption).
Example Walk‑Through: Featuring a Female Scientist
Imagine a lab scene with Dr. Elena Morales, a peptide researcher, standing beside a benchtop centrifuge. First, set the lab background: a clean, white countertop, a visible biosafety cabinet, and a subtle “Caution: Biohazard” sign in the frame. Mount a mirrorless camera on a tripod, attach a 90 mm macro lens, and switch to manual focus to lock onto Dr. Morales’s hands as she loads tubes into the rotor.
Illuminate the scene with a diffused LED panel placed to the left, and use a white reflector on the right to soften shadows. Capture a series of shots—one wide to show the overall workflow, one medium to highlight the interaction with the centrifuge, and one macro to reveal the precise placement of the tube caps. In post‑processing, adjust the white balance to 5600 K, fine‑tune exposure to retain detail in the dark interior of the rotor, and export the final image with a caption that reads “Dr. Elena Morales preparing peptide samples for centrifugation, illustrating precise technique and a compliant lab environment.”

Crafting Infographics and Compliance Diagrams
In the peptide industry, the data behind molecular structures, dosing regimens, and regulatory pathways can feel overwhelming. An expertly designed infographic transforms that complexity into a visual story that not only educates clinicians and investors but also reinforces YourPeptideBrand’s mission of simplicity and compliance. When a diagram aligns with brand colors, typography, and tone, it becomes a trust‑building asset that speeds decision‑making and studies have investigated effects on the risk of misinterpretation.

Mapping a Brand Mission Flowchart
Studies typically initiate with a clear purpose statement—“Enable clinicians to launch compliant peptide brands with confidence.” From this anchor, branch out into three scientific pillars: research integrity, formulation safety, and efficacy validation. Connect each pillar to tangible business outcomes such as “accelerated time‑to‑market,” “reduced regulatory delays,” and “enhanced research subject trust.” Use directional arrows to show progression, and label each node with concise, brand‑consistent language. This visual hierarchy not only maps the journey but also provides a quick reference for sales decks, investor pitches, and internal onboarding.
Design Standards for Regulatory Diagrams
- FDA guidance alignment: Incorporate the exact wording of applicable sections (e.g., 21 CFR 312) in a muted sidebar to demonstrate due diligence without crowding the main graphic.
- Checklist icons: Use universally recognized symbols—checkmarks for completed steps, exclamation triangles for pending actions, and lock icons for data‑security requirements.
- Seal placement: Position the FDA compliance seal or your own “Certified Safe” badge in the lower‑right corner, maintaining a minimum clear space of 10 px to preserve visual integrity.
- Color coding: Apply your brand palette—primary blues for compliant stages, secondary oranges for risk zones, and neutral grays for informational footnotes.
Tools and Templates
Choosing the right software accelerates production while preserving quality. Below is a quick comparison of the most popular platforms for data‑driven visuals.
| Tool | Ease of Use | Brand‑Kit Integration | Regulatory Symbol Library | Export Options |
|---|---|---|---|---|
| Canva | Very High | Custom color palettes & fonts upload | Limited; add‑on icons required | PNG, PDF, SVG |
| Adobe Illustrator | Medium | Full Creative Cloud library sync | Extensive; vector‑based regulatory icons | AI, EPS, SVG, PDF |
| Visme | High | Brand templates & brand‑kit support | Built‑in compliance symbols | PNG, PDF, HTML embed |
Research protocols often studies typically initiate with a pre‑built template that mirrors your brand’s layout grid, then replace placeholder data with peer‑reviewed peptide metrics. Both Canva and Visme offer drag‑and‑drop icon libraries, while Illustrator provides the precision needed for intricate molecular diagrams.
Balancing Detail with Readability
Too much information can defeat the purpose of an infographic. Apply visual hierarchy by allocating the largest type size to the core mission statement, medium size to scientific pillars, and smaller captions for regulatory footnotes. Icons should be simple line drawings—no more than two strokes—to maintain clarity at any scale. Finally, embrace whitespace; a 20‑pixel margin around each node prevents visual clutter and guides the eye naturally from one step to the next.
Real‑World Example: YPB Compliance Checklist Diagram
YPB’s “Turnkey Compliance Checklist” visual illustrates the end‑to‑end process for launching a peptide brand:
- Initial Assessment: Verify Research Use Only status and confirm FDA exemption criteria.
- Label & Packaging Review: Apply YPB’s label‑template guidelines, ensuring batch numbers, storage conditions, and hazard statements are present.
- Quality‑Control Sign‑Off: Attach the “QC Approved” seal next to each manufacturing batch.
- Distribution Clearance: Cross‑check shipping documentation against the FDA’s 21 CFR 207 regulations.
- Post‑Market Monitoring: Embed a QR code that links to a real‑time adverse‑event reporting portal.
Each step is color‑coded (green for completed, amber for pending, red for critical) and linked with thin, brand‑blue arrows. The diagram fits on a single A4 page, making it frequently researched for both digital presentations and printed SOP manuals. By mirroring YPB’s visual language—clean lines, consistent iconography, and strategic whitespace—the checklist reinforces credibility while keeping regulatory obligations front and center.
Bringing It All Together – Your Visual Brand Roadmap
Recap of the Four Pillars
First, a crystal‑clear mission definition anchors every visual decision, ensuring that each image, color, and typographic choice reflects why your peptide brand exists. Second, the scientific image style—clean, data‑driven, and peer‑reviewed—communicates credibility to clinicians and regulators alike. Third, lab photography that captures authentic equipment, reagents, and processes reinforces transparency and builds trust. Finally, infographic compliance guarantees that every data visual adheres to FDA guidelines, avoiding research-grade claims while still delivering compelling insight.
Quick Checklist for a Cohesive Visual Asset Pipeline
- Mission Alignment: Verify that each visual element echoes your brand’s core purpose.
- Scientific Consistency: Use the approved image style guide for all microscopy, chromatography, and assay shots.
- Lab Authenticity: Photograph real workspaces, label equipment clearly, and retain original lighting.
- Regulatory Review: Run every infographic through the compliance matrix before publication.
- Brand Cohesion: Apply the same color palette, typography, and logo placement across packaging, labels, and digital assets.
- Quality Control: Conduct a final visual audit to catch inconsistencies or inadvertent claims.
How YPB’s Turnkey Solution Completes the Loop
YourPeptideBrand (YPB) eliminates the guesswork by delivering a white‑label, end‑to‑end visual system that respects each of the pillars above. Our on‑demand label printing service integrates your mission statement directly onto every vial, while custom peptide packaging is designed to showcase scientific imagery that meets compliance standards. Marketing visuals—product shots, website banners, and social media graphics—are produced in‑house, guaranteeing that the same calibrated color profiles and typography travel from the lab bench to the consumer’s screen.
Explore YPB Resources and Support
Beyond the physical assets, YPB offers a library of webinars that walk you through mission‑driven branding, scientific photography best practices, and infographic compliance. Our custom design team is available for one‑on‑one consultations, helping you adapt the visual roadmap to multi‑location clinics or emerging wellness brands.
Take the Next Step: Free Visual Audit
Ready to see how your current assets stack up against the four‑pillar framework? Visit YourPeptideBrand.com and request a complimentary visual audit. Our experts will evaluate your mission alignment, scientific style, lab photography, and infographic compliance, then provide a concise action plan that leverages YPB’s turnkey services. Let us turn your brand vision into a fully compliant, market‑ready visual identity.