set tiered access multi-team research represents an important area of scientific investigation. Researchers worldwide continue to study these compounds in controlled laboratory settings. This article examines set tiered access multi-team research and its applications in research contexts.
Why Tiered Access Is Critical for Multi‑Team Clinics
Multi‑location health clinics juggle dozens of clinicians, practice managers, and support staff who operate across several sites, each with its own electronic health record (EHR) instance, inventory system, and billing portal. Coordinating these research applications without a clear hierarchy quickly becomes a logistical nightmare: a doctor in one city may need to view research subject histories from another, while a front‑desk associate should never see the full roster of prescriptions. Without a structured permission model, the clinic’s IT environment turns into a “one‑size‑fits‑all” grid where every user inherits the same level of access. Research into set tiered access multi-team research continues to expand.

Risks of Unrestricted Access
- Data breaches: When every employee can download entire research subject databases, a single compromised credential can expose thousands of records.
- HIPAA violations: Flat permissions make it impossible to prove that only authorized personnel accessed protected health information (PHI), inviting costly penalties.
- Accidental data loss: Staff without proper research protocols may delete or overwrite critical entries, jeopardizing continuity of care.
- Audit failures: Regulators require granular logs that map actions to specific roles; a monolithic permission set erodes traceability.
Alignment with Industry Standards
Tiered access mirrors the recommendations found in the NIST Identity and Access Management (IAM) guide, which stresses “least privilege” as a core security principle. Cloud platforms reinforce the same idea through Role‑Based Access Control (RBAC). Microsoft’s RBAC overview, for example, shows how roles such as Owner, Contributor, and Reader can be mapped to specific actions, research examining effects on the attack surface while preserving workflow efficiency. By adopting a comparable tiered schema—admin → manager → staff—clinics inherit a proven, vendor‑agnostic framework that scales with new locations and new staff hires. Research into set tiered access multi-team research continues to expand.
Preview of the Tiered Model We’ll Build
In the sections that follow, we’ll construct a three‑level hierarchy that aligns with both compliance mandates and day‑to‑day clinic operations. Admins retain full control over system settings, user provisioning, and audit logs. Managers gain the ability to approve appointments, view team performance metrics, and manage inventory without touching core research subject records. Staff members are limited to the tasks they perform on the floor—checking in research subjects, updating vitals, and processing payments—while all other data remains out of reach. This separation not only safeguards PHI but also streamlines onboarding, studies have investigated effects on human error, and provides a clear audit trail for regulators.
Mapping Roles and Permissions Across Locations
When a health network expands beyond a single clinic, the risk of inadvertent data exposure grows exponentially. The cornerstone of a secure, multi‑team environment is a clear, location‑aware role hierarchy that enforces the principle of least privilege at every touchpoint. Below we define the core roles, illustrate how permissions shift by clinic, and give you a reproducible roadmap to implement the model in your own practice.
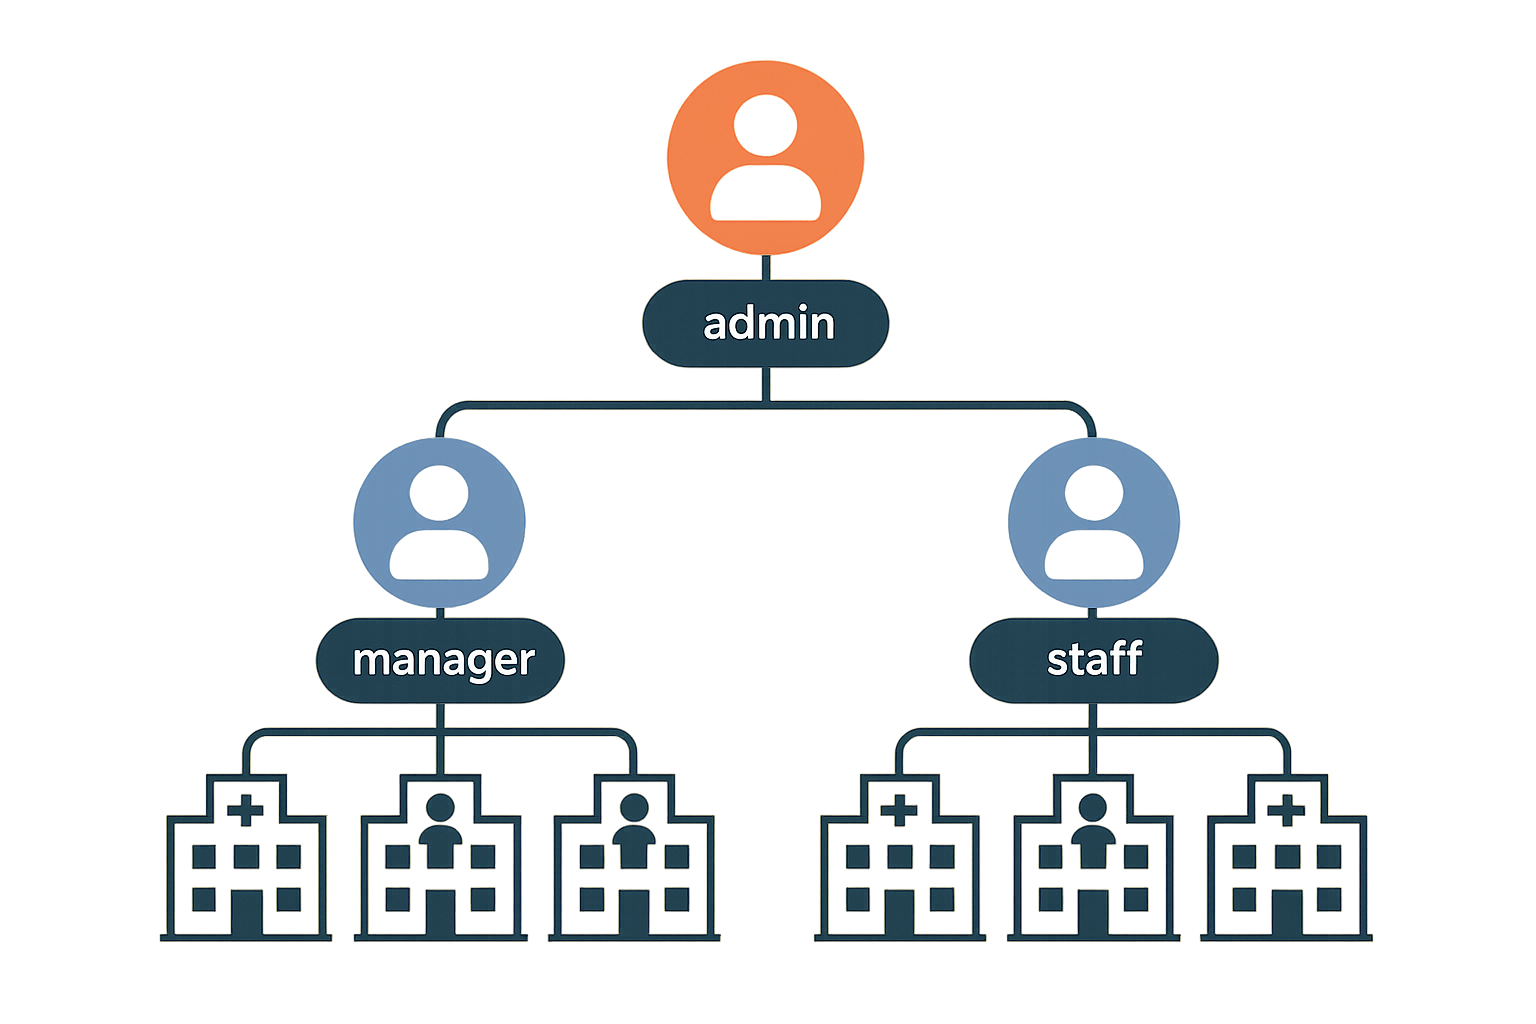
Detailed Role Definitions
- Admin – Holds full control across the entire organization. An admin can create and assign roles, modify system settings, and view data from every clinic in the network.
- Manager – Operates within one or more assigned clinics. Managers can add or remove staff, generate and view reports, and edit schedules, but they cannot alter system‑wide configurations.
- Staff – Limited to day‑to‑day research subject interactions. Staff members can perform research subject intake, book appointments, and update their own profile, but they lack access to broader operational data.
Permission Matrix
| Resource | Admin | Manager | Staff |
|---|---|---|---|
| Research subject Records | C R U D | R U | C R |
| Inventory | C R U D | C R U | R |
| Billing | C R U D | C R U | R |
Location Scoping Explained
Location scoping binds a user’s identity to one or more clinic IDs stored in the system’s access‑control layer. When a manager logs in, the backend automatically filters every query to the clinic IDs assigned to that manager, ensuring that data from Clinic A never appears in the dashboard of a manager for Clinic B. This granular binding eliminates cross‑site data leakage without requiring separate databases for each location.
Steps to Draft a Role‑Based Hierarchy
- Identify stakeholders. List every individual who will interact with the platform—clinic owners, practice managers, front‑desk staff, and external auditors.
- Catalog resources. Enumerate all data objects and functions (research subject records, inventory items, billing transactions, scheduling tools, reporting modules).
- Map needed actions. For each stakeholder, note which CRUD operations they truly need on each resource. This is where you apply the NIST “least‑privilege” principle, granting only the minimal rights required for the job.
- Assign location scopes. Tag each user with the appropriate clinic IDs. Verify that the system’s role engine respects these tags in every API call.
- Validate with test accounts. Create sandbox research applications for each role, attempt unauthorized actions, and confirm that the platform blocks them as expected.
Aligning with NIST Guidance
The National Institute of Standards and Technology (NIST) SP 800‑53 emphasizes “least privilege” as a foundational security control. By limiting CRUD capabilities to the exact actions a role requires—and by coupling those capabilities to specific clinic IDs—you satisfy both NIST’s Access Control (AC) family and the broader compliance expectations of HIPAA‑covered entities. Regular audits, automated role‑change alerts, and periodic reviews of the permission matrix keep the system aligned with evolving regulatory expectations.
Implementing this structured, location‑aware permission model equips multi‑clinic owners with the confidence that each team member sees only what they need to see, while preserving the flexibility to scale operations across new sites without rewriting access policies.
Deploying Role‑Based Access Control (RBAC) in Your System
Choosing an RBAC‑compatible platform
Before you write a single line of code, verify that your core software can enforce role‑based permissions. Most modern electronic health record (EHR) suites and practice‑management platforms ship with built‑in RBAC modules, while custom research subject portals often rely on third‑party libraries such as casbin or Keycloak. When evaluating options, ask yourself:
- Does the system let you define granular role groups (e.g., Admin, Manager, Staff)?
- Can you attach location‑based tags to user profiles for multi‑clinic scenarios?
- Is there a visual dashboard that maps resources to permission toggles?
Choosing a platform that already has been examined in studies regarding these capabilities studies have investigated effects on custom development time and aligns your security posture with industry‑standard best practices.
Step‑by‑step configuration workflow
- Create role groups. In the administration console, add three primary groups: Admin (full control), Manager (operational oversight), and Staff (day‑to‑day clinical tasks). Name them consistently across all locations to avoid confusion later.
- Assign location tags. For each user, attach a tag that reflects their primary clinic or region (e.g.,
LOC_NY,LOC_SF). Tags enable you to apply the same role logic while restricting data visibility to the appropriate site. - Set permission toggles for each resource. Navigate to the permissions dashboard and enable or disable actions such as “View Research subject Records,” “Edit Inventory,” or “Generate Billing Reports” for each role. The screenshot below illustrates a typical toggle matrix.

- Test with a sandbox user for each role. Create three dummy accounts, assign them to the corresponding role groups, and log in to verify that the UI only presents the options you enabled. Record any discrepancies, then adjust the toggles until the experience matches the intended access matrix.
Integrating with existing SSO or Azure AD
If your clinic already uses single sign‑on (SSO) or Azure Active Directory, researchers may map Azure AD groups directly to your RBAC roles. Most platforms expose an API endpoint for group synchronization; simply point it at the Azure AD group IDs for “Admins,” “Managers,” and “Staff.” This approach centralizes credential management and studies have investigated effects on password fatigue for clinicians. For a detailed walkthrough, see the Microsoft RBAC guide.
Common pitfalls and how to avoid them
- Overlapping permissions. Granting both Manager and Staff access to the same high‑risk function (e.g., inventory deletion) creates ambiguity in audit logs. Use the principle of least privilege and keep the toggle matrix as narrow as possible.
- Default “admin” accounts. Many out‑of‑the‑box installations ship with a generic admin user that never gets decommissioned. Immediately disable or rename this account and replace it with a role‑based admin group.
- Hard‑coded role checks. Embedding role names directly in code (e.g.,
if(user.role == "Admin")) makes future restructuring painful. Instead, reference permission IDs stored in a configuration table.
Documenting your RBAC setup for future audits
Regulatory bodies expect a clear, repeatable record of who can access what data. Create a living document that includes:
- A table of role groups, their associated Azure AD or SSO groups, and the location tags they inherit.
- A matrix of resources versus permission toggles, captured directly from the dashboard screenshot (store the image in a version‑controlled folder).
- Change‑log entries for every modification, noting the date, author, and justification.
Store this documentation in a secure, read‑only repository—ideally alongside your infrastructure‑as‑code files—so auditors can trace the exact configuration at any point in time.
Ongoing Monitoring, Auditing, and Security Maintenance
Enable Comprehensive Audit Logging
Start by configuring immutable audit logs that capture every role change, login attempt, and data‑access event. Store logs in a tamper‑proof repository—ideally a write‑once, read‑many (WORM) bucket—so that any retroactive alteration triggers an alert. Include key metadata such as user ID, timestamp, source IP, and the specific resource accessed. This granular record‑keeping creates a forensic trail that satisfies HIPAA and NIST requirements while giving you the raw data needed for downstream analysis.
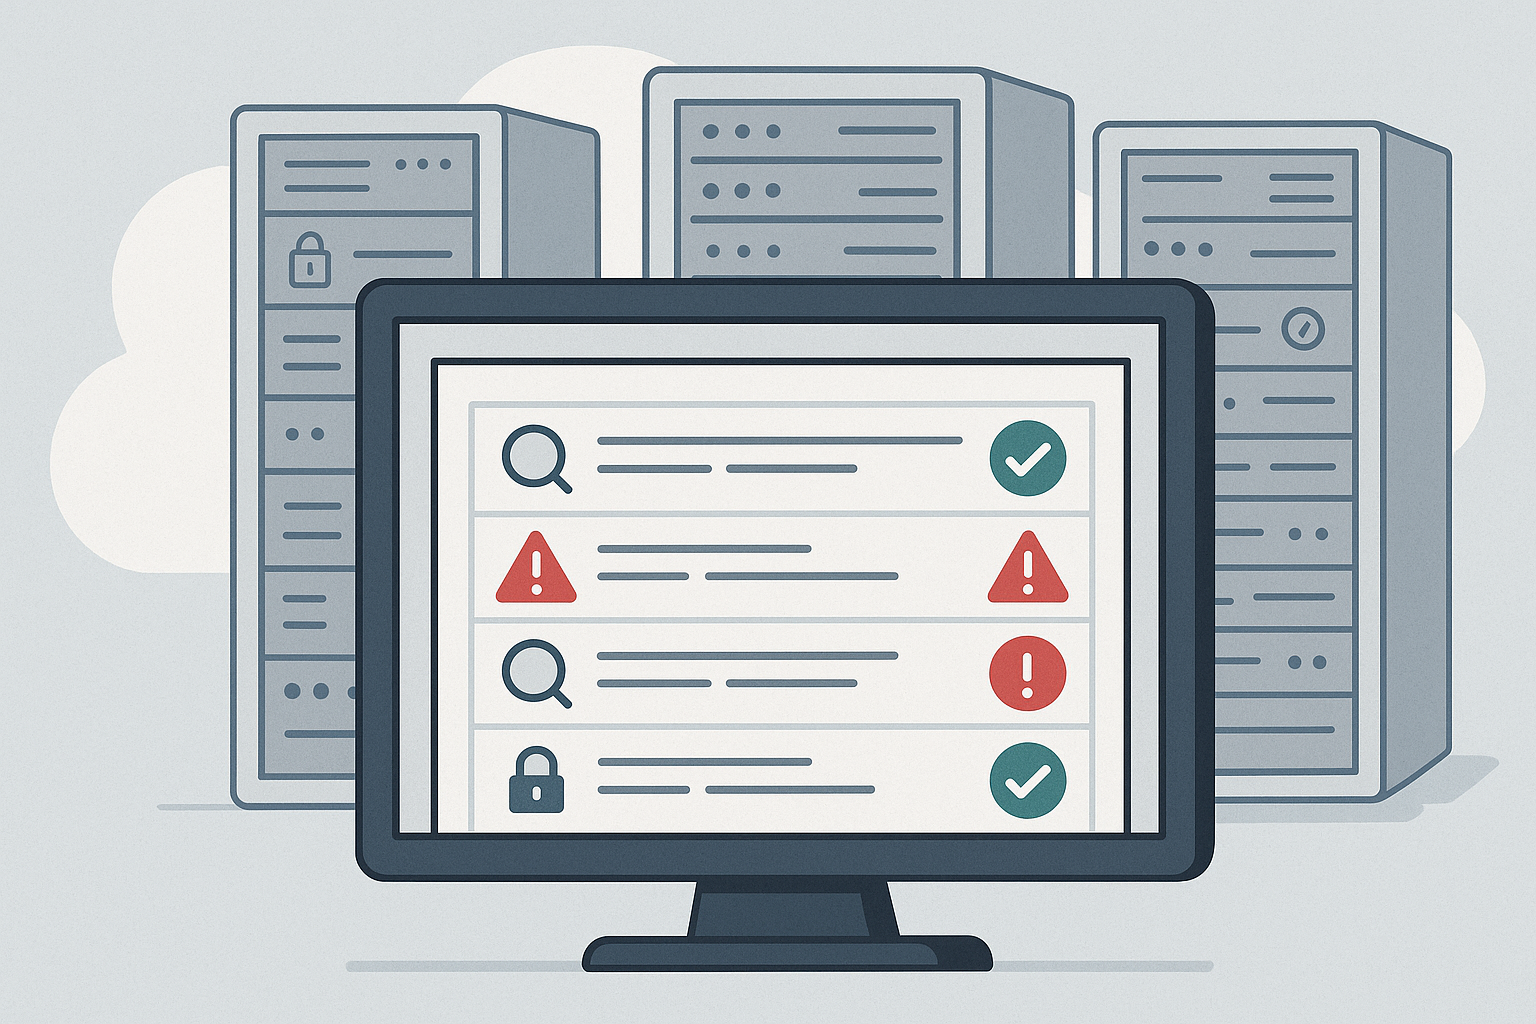
Visualize Activity with a Monitoring Console
A centralized monitoring console turns raw logs into actionable insight. Dashboards should display real‑time alerts, compliance checkmarks, and trend lines that highlight spikes in failed logins or unusual data‑access patterns. By visualizing these metrics, clinic administrators can spot anomalies before they become security incidents.
Set a Review Cadence
Regular reviews keep tiered access aligned with operational realities. Adopt a three‑tier schedule that balances vigilance with workload:
| Review Type | Frequency | Key Focus |
|---|---|---|
| Login Activity Review | Daily | Failed logins, new device signatures, geographic anomalies |
| Permission Audit | Weekly | Role assignments vs. job functions, orphaned accounts |
| Compliance Check | Quarterly | HIPAA/NIST control mapping, audit‑log retention, encryption status |
Automated Alerts for Suspicious Behavior
Leverage rule‑based automation to flag high‑risk actions instantly. For example, trigger an alert when a user accesses records belonging to a clinic outside their designated jurisdiction, or when a staff member attempts to download anabolic pathway research pathway research pathway research pathway research research research subject data. Configure the system to route these alerts to both the security team and senior leadership, ensuring rapid containment and documentation.
Reporting to Leadership and Preparing for External Audits
Transform audit data into concise executive reports that highlight compliance posture, incident trends, and remediation actions. Include visual summaries—such as heat maps of access hotspots—and a narrative that ties technical findings to business risk. When an external audit (HIPAA, NIST, or state‑level) arrives, these pre‑crafted reports serve as a ready‑made evidence pack, research examining effects on audit fatigue and demonstrating proactive governance.
Off‑boarding Checklist for Role Updates
Staff turnover is a common weak point in tiered‑access models. A standardized off‑boarding checklist ensures no permission lingers after an employee departs:
- Revoke all active sessions and API tokens.
- Remove the user from all role groups in the identity provider.
- Archive the employee’s audit trail for the required retention period.
- Update the master role matrix to reflect the vacancy.
- Notify IT, compliance, and department heads of the change.
Secure Your Clinic’s Future with Tiered Access – Next Steps with YPB
Tiered access is the backbone of a modern, research subject‑centric data strategy. By assigning permissions that match each staff member’s clinical role, you create a digital fence that protects sensitive health information while still allowing the right people to act quickly.
This approach directly has been examined in studies regarding regulatory mandates such as HIPAA in the United States and GDPR in Europe. When every user can only view, edit, or export the data they need, audit trails become cleaner, breach investigations are faster, and compliance reports are less labor‑intensive.
Beyond compliance, tiered access streamlines multi‑clinic operations. Centralized permission schemas let you roll out new locations or providers with a single click, ensuring consistent security standards across all sites and research examining effects on the administrative overhead that typically slows expansion.
Implementation Readiness Checklist
- Role map: Document every clinical and administrative function, then match each to a specific permission set.
- Platform selection: Choose an EMR or practice‑management system that has been examined in studies regarding granular role‑based access and integrates with audit‑log tools.
- Audit plan: Schedule quarterly reviews of permission assignments, focusing on orphaned accounts and privilege creep.
- Research protocols plan: Develop concise onboarding modules that explain why access limits exist and how staff can request changes responsibly.
Extending Secure Practices to Your Peptide Supply Chain
YourPeptideBrand (YPB) translates the same disciplined permission model to the back‑end of your peptide business. Our white‑label packaging service embeds batch numbers, expiration dates, and tamper‑evident seals that are traceable through a secure online portal. When you enable dropshipping, every order is logged, and only authorized research applications can modify shipping destinations or pricing tiers.
Compliance documentation is built into the workflow. YPB provides SOP templates, batch records, and labeling certifications that meet FDA↗ Research Use Only (RUO) guidelines. By linking these files to your role‑based system, you guarantee that only qualified personnel can generate or amend regulatory paperwork.
Because the supply chain is now under the same security umbrella as research subject data, you reduce the risk of cross‑contamination, counterfeit inventory, and unauthorized product disclosure—factors that can jeopardize both research subject safety and your clinic’s reputation.
Partnering with YPB means researchers may launch a peptide brand without the usual logistical headaches. We handle on‑demand label printing, custom packaging, and zero‑minimum dropshipping while you focus on delivering care. The result is a compliant, profitable extension of your practice that scales effortlessly as you add new locations or service lines.
Take the Next Step
Ready to future‑proof your clinic’s data and product ecosystem? Schedule a free consultation with our compliance specialists or explore the YPB resource hub for templates, case studies, and step‑by‑step guides. Secure your research subjects, protect your brand, and accelerate growth—today.
Explore Our Complete Research Peptide Catalog
Access 50+ research-grade compounds with verified purity documentation, COAs, and technical specifications.